Terminating an employee in Xero can seem tricky if you don’t know the steps.
Missing key details or getting something wrong could lead to compliance issues and payroll headaches.
But don’t worry – this guide will walk you through every step of the process, ensuring a smooth and accurate employee termination in Xero.
NOTE: Before we start, it’s important to note that you’ll need payroll admin access in Xero to terminate an employee. Without it, you won’t be able to access the payroll tab, which is where everything will happen. If you don’t have access, contact the manager responsible for the Xero file to get the necessary permissions.
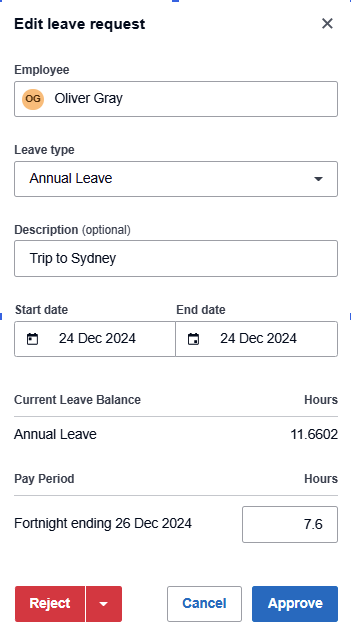
You first need to deal with any existing leave requests for this employee. For any leave requests they have submitted that relate to a date BEFORE their termination date, ensure these have been approved. For any leave requests submitted for leave that will occur at a point in time AFTER their termination date, you will need to Reject these before you can proceed with the termination.
To manage leave requests as a Payroll Admin:
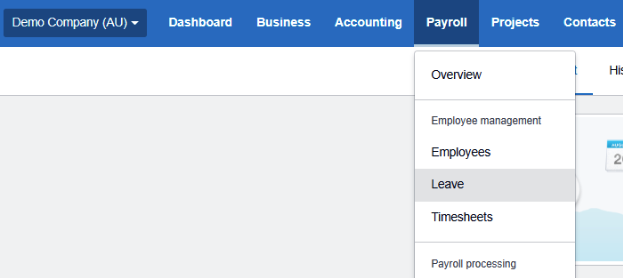
Before you process the final pay for an employee termination, you need to ensure any unpaid annual leave is set to “paid out” and any personal (sick/carer’s) leave is set to “not paid out”. This will ensure the amounts owing will show on their final payslip.
The process is the same for both types of leave. Here’s how to do it:
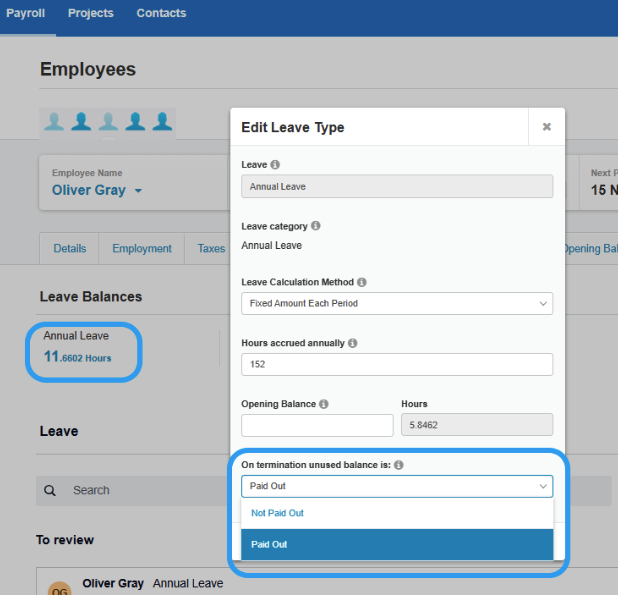
NOTE: Personal (Sick/Carer’s) Leave generally isn’t paid out unless you have specific agreements with the employee or the award requires it. Always check your award or contract terms to be sure.
If your employee has worked for you for less than 5 years there will be no Long Service Leave payout. If your employee has worked for you for more than 5 years you may be liable to pay out an amount of Long Service Leave. Please check with your bookkeeper or accountant as to whether this applies to the employee you are terminating.
For employers in the Building and Construction Industry please ensure you are aware of your responsibilities relating to Entitlements. Again, you may need your bookkeeper or accountant to assist you with this process.
You will now process the employee’s final pay.
This ensures all wages, leave, and entitlements are calculated accurately, follow these steps below:
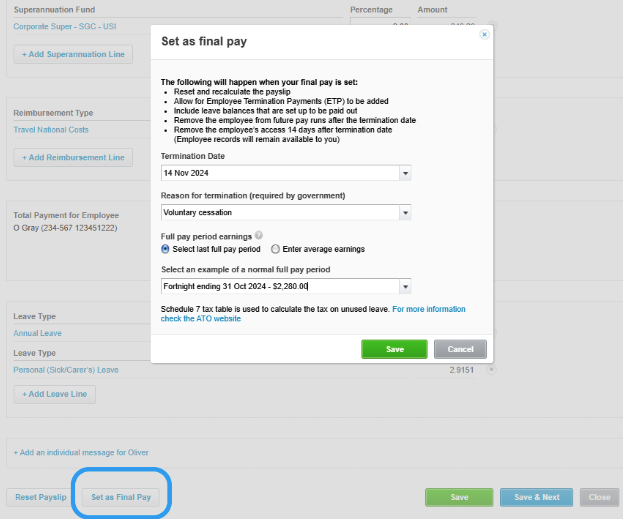
NOTE: Depending on the reason for termination, there may be additional payouts required beyond what we’ve discussed here. These could depend on agreements with the employee or awards they’re covered under. Be sure to check with your bookkeeper or accountant if you’re not sure.
To ensure compliance, you must report the employee’s termination to the ATO:
This step ensures that the ATO is informed about the employee’s termination and that your records remain compliant with tax obligations.
Please note that the superannuation payable on your employee’s final pay has the same reporting deadlines as that of your other employees. Some employers may prefer to process and pay superannuation at the same time as the termination payment.
When terminating an employee, final pay must include all outstanding wages, unused leave, and any other entitlements like redundancy payments.
The employee’s final pay is typically due on their last working day or the next scheduled payday, depending on the award or agreement.
Employers must also provide the correct notice period or payment in lieu. For more detailed information on what to include in final pay, check the Fair Work website.
Terminating an employee in Xero doesn’t have to be complicated. By following these simple steps, you can ensure the process is handled smoothly and in compliance with ATO requirements.
If you need extra support in completing the process above, Heart Bookkeeping offers online Xero training & UNLIMITED support, to give you the confidence to handle your books without any hassle.
If you’d like to learn more about our ongoing bookkeeping services, schedule a free discovery call today, and let’s make managing your business finances easier together!
If you’re new to Xero or simply looking to update your invoice templates, this guide will walk you through the process step by step.
By the end of this article, you’ll have your bank details securely in place on all your Xero invoices, making it easier for your clients to pay you without any delays.
Let’s dive in!
If you’re logged in to your Xero account, the first step is to access the settings where you can update your invoice template. Here’s how to do it:
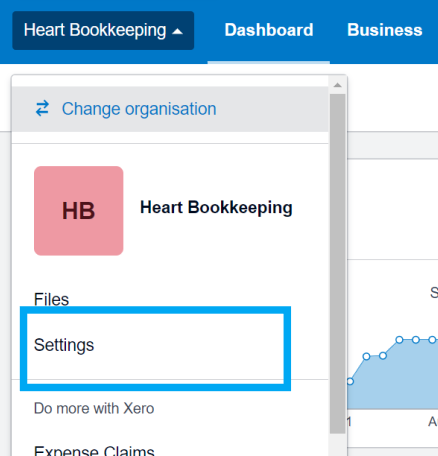
You’re now in the right place to customise your invoice template and ensure that your bank details are included on every invoice you send out.
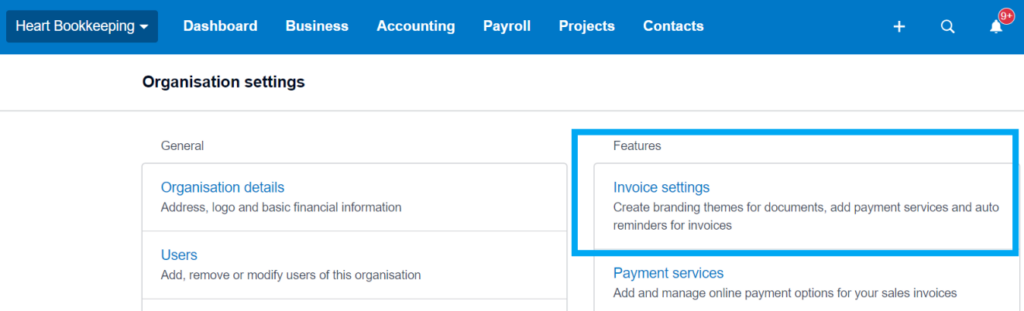
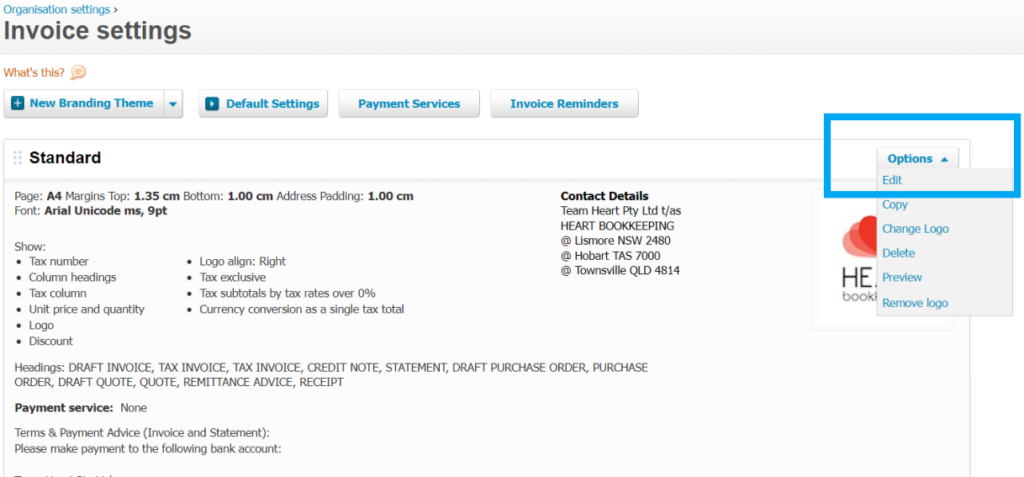
With the invoice settings open, the next step is to choose the invoice template you want to edit. Here’s how to do it:
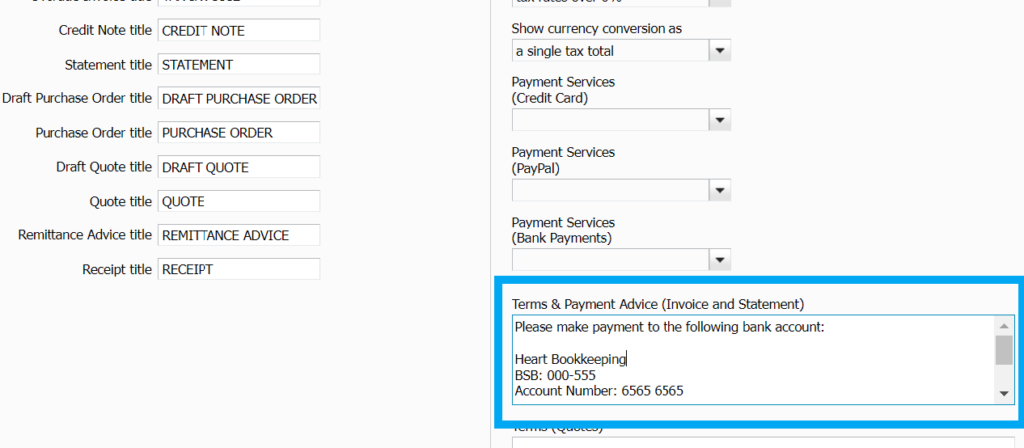
Now that you’ve selected your invoice template, it’s time to add your bank details. This ensures that your clients know where to send payments, streamlining the process. Here’s how to do it:
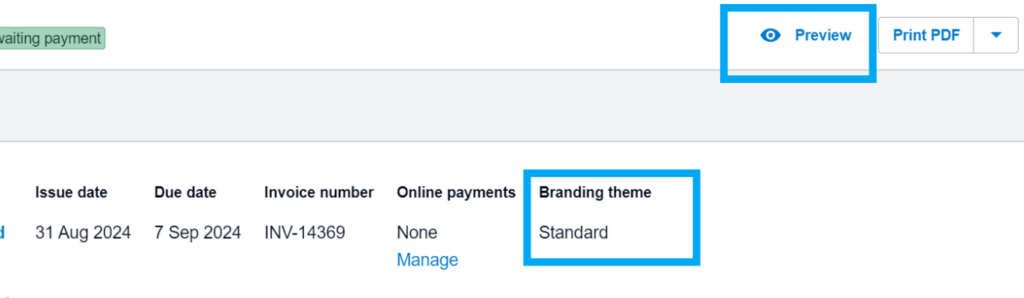
With your bank details now saved in the template, it’s a good idea to create a test invoice to ensure everything appears correctly. Here’s how to do it:
If you’re a small business owner who is struggling with the ins and outs of Xero, Heart Bookkeeping has you covered!
Our Xero Online Training gives you access to a comprehensive library of training videos, walking you through Xero’s features step by step.
The best part?
You’ll receive unlimited support from our Xero experts whenever you need it, ensuring you never feel lost or overwhelmed. Start your journey to mastering Xero with confidence and ease.
If bookkeeping just isn’t your thing and you want to get back to doing the things you love in your business, schedule your free discovery call today to speak to our team about how we can manage your bookkeeping.
If you’d prefer to speak with us directly, give us a call on 0434 811 819.
Want to get on top of your small business cash flow? Being “bad with money” isn’t your problem and this is why…
I work with lots of small business owners and want to debunk a common myth right from the start – no one is bad with money! Alot of people are uneducated about how to control their cash, but like most things in life, it’s very hard to be a master of something that you’ve not been taught about or coached on, in order to improve your technique.
In Australia, the sad fact is that we aren’t taught money skills at school. If we’re lucky, some of us will have parents or family that have cracked the code on cash flow and we can pick up bits and pieces from watching their behaviours. But for the majority of the population, we are sent out into the world with next to no money education and it’s a matter of sink or swim.
And if you were struggling with balancing your bank account before you went into business, launching your entrepreneurial journey has probably magnified your pain.
Getting educated about how money works should be your first priority. I highly recommend that you start your financial literacy journey by reading and implementing www.barefootinvestor.com in your personal life. This will give you a strong basis for controlling your cashflow in business too.
The bank account “buckets” method that Scott Pape uses in the Barefoot Investor is very similar to one of the elements of our Cash Flow Project system for small business owners. Although we deep dive a lot more into designing your profit, there are basic principles that can span both your personal and business finances and once you learn and master these, you can stop stressing about cash flow and start building your personal wealth.
Find out more about Heart Bookkeeping’s Cash Flow Project program here.
"*" indicates required fields